
App Connect
Overview
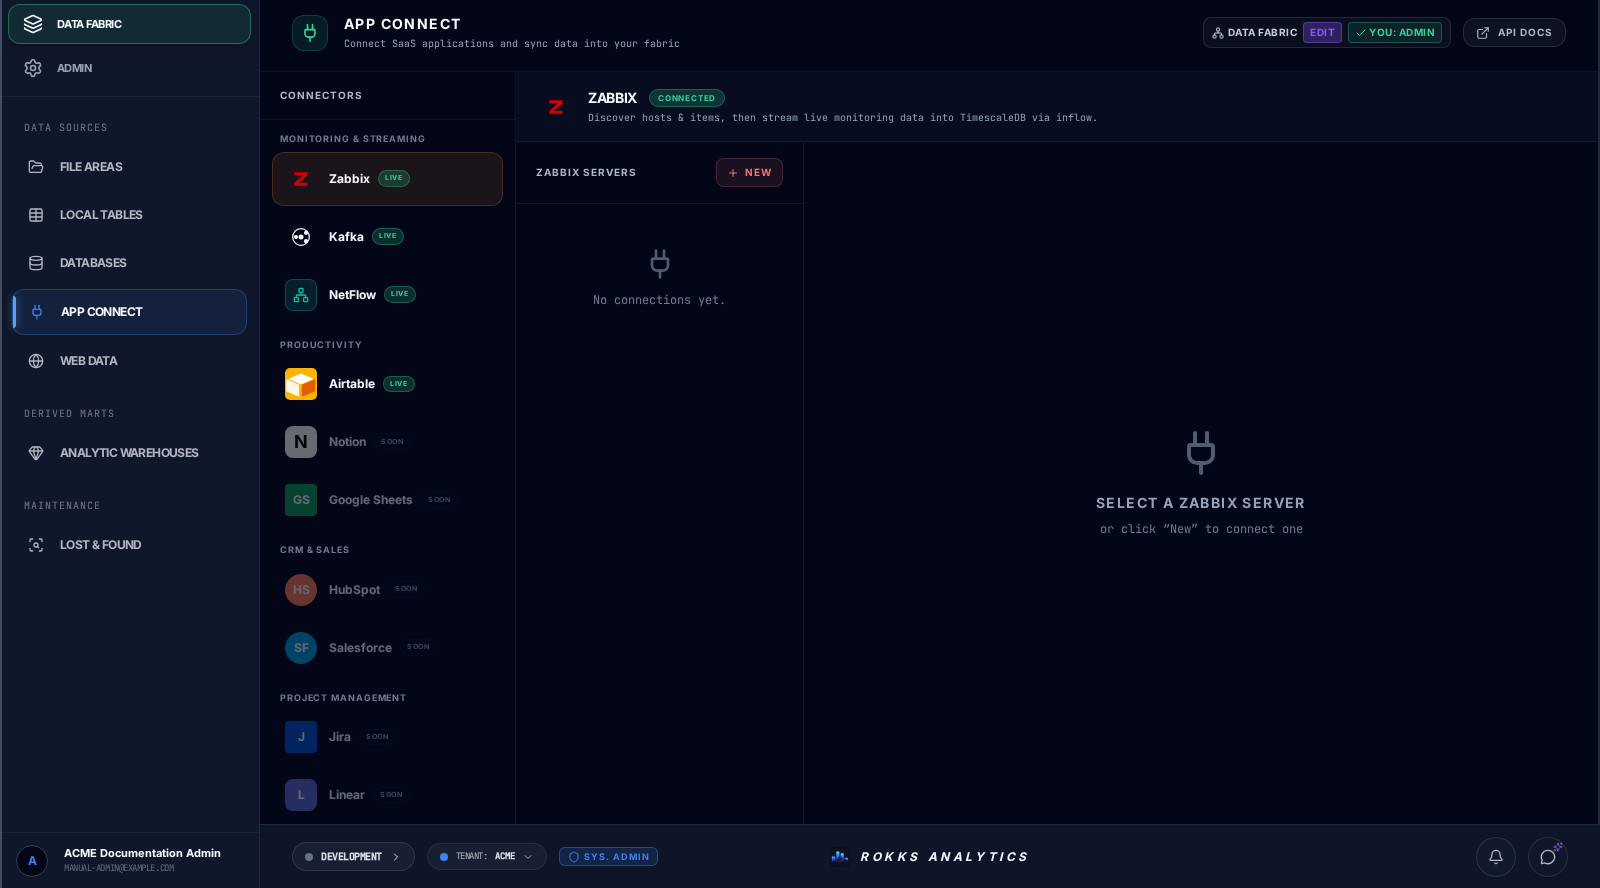
Section titled “Overview”App Connect is the connector catalog for Airtable, Zabbix, Kafka, and NetFlow. Each provider exposes its own setup and execution path; the page does not impose one universal discovery-and-mapping wizard.
How it works
Section titled “How it works”For Airtable, create a connection with a name and Personal Access Token, then choose the tables and fact roles for an Airtable constellation. Airtable fields and types are snapshotted automatically; use Save constellation to retain the selection or Save & Sync to retain it and start the supported sync. Zabbix has a configuration-sync workflow, while Kafka and NetFlow use the streaming connector surfaces described separately.
Step-by-step
Section titled “Step-by-step”- Open App Connect and select one of the connectors marked Live.
- Follow that provider’s form and execution path; do not transfer labels or steps from another provider.
- For Airtable, choose New, enter the connection name and Personal Access Token, then choose Save & Test.
- Select the Airtable tables and their fact roles in the constellation panel.
- Choose Save constellation or Save & Sync, then monitor the resulting work.
- For Zabbix, Kafka, or NetFlow, use the provider-specific controls and the Streaming Connectors guidance.
Sidekick can inspect and sync an existing Airtable Constellation, but it does not replace the credential form or table-selection setup above. See the catalog and connection cookbook.
Common mistakes
Section titled “Common mistakes”Do not look for a manual Airtable field-type or key editor on this page. The current Airtable workflow snapshots provider fields and types automatically and asks you to choose tables and fact roles.
Do not treat a connector card’s Live or Connected label as proof that your own connection passed a test. Those labels describe connector availability; validate the configured connection through its provider-specific controls.