
Companies and Teams
Overview
Section titled “Overview”Open Admin → Companies & Teams to maintain the identity hierarchy inside the selected tenant. Use this page to group people into companies and teams; use an object’s Permissions editor to grant that group access to a workspace or other resource.
How it works
Section titled “How it works”The page has three columns: Companies, Teams, and Members. A company belongs to the selected tenant. A team belongs to exactly one company. Selecting a company shows its teams and its own members; selecting a team changes the Members column to that team.
Creating, renaming, and saving memberships run as background jobs. Wait for the operation to finish and the refreshed result to appear before making the next change. Switching tenants clears the previous selection. Without a selected tenant, the page asks you to choose one and does not show a hierarchy.
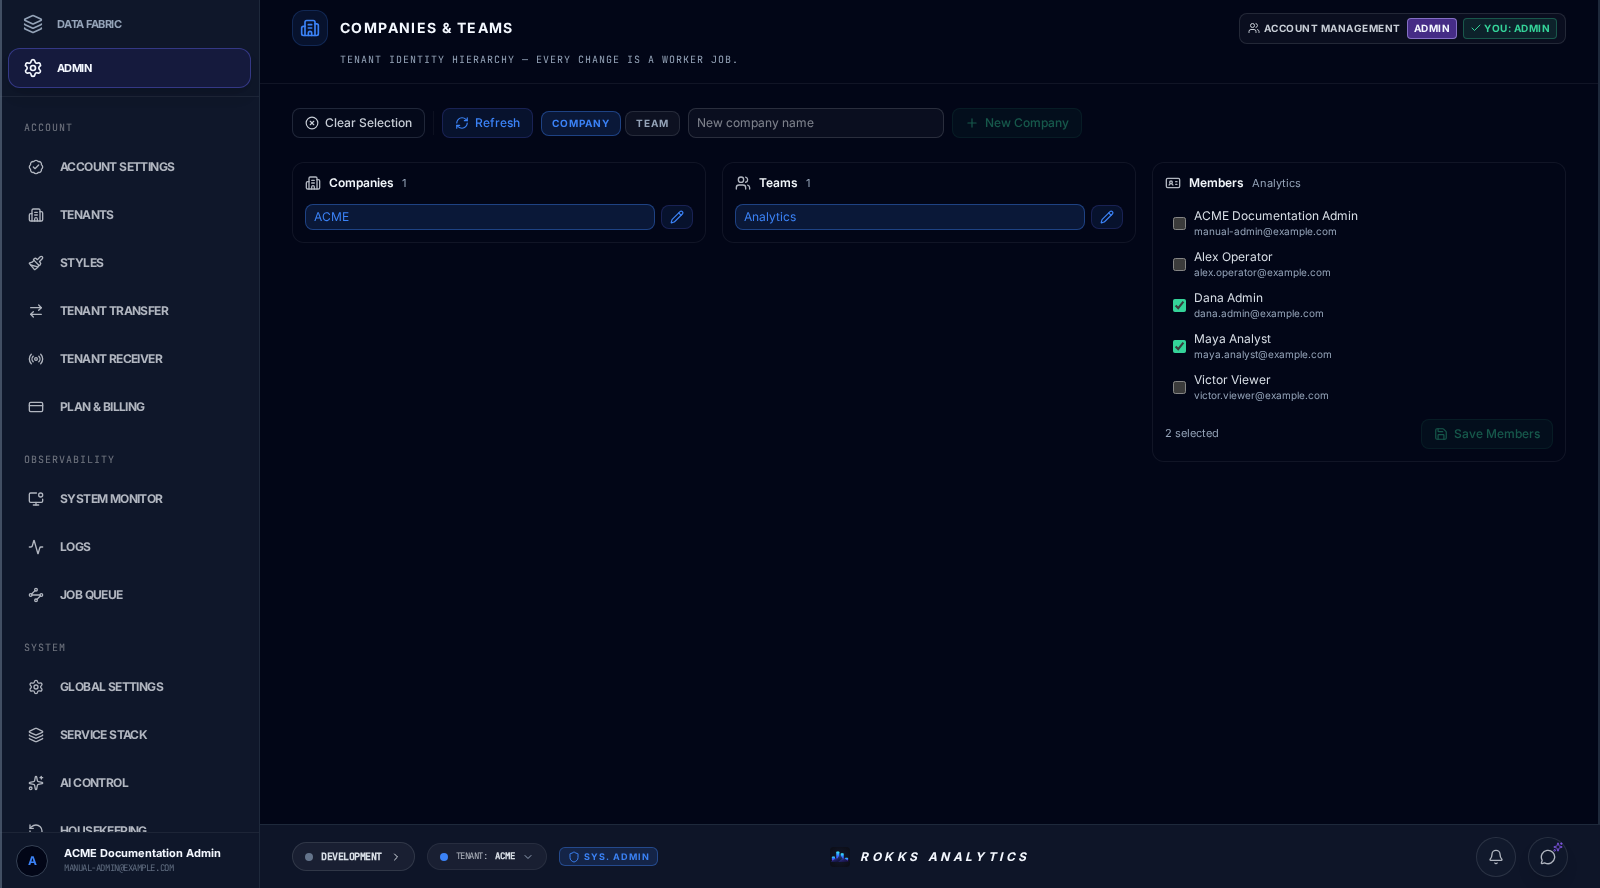
The real capture shows the ACME company, its Analytics team, and two saved memberships: Dana Admin and Maya Analyst. The remaining demo users are not members of this team.
Step-by-step
Section titled “Step-by-step”- Select the intended environment and tenant, such as ACME.
- Open Admin → Companies & Teams. If access is denied, ask the tenant administrator to check your assigned role and administration capabilities.
- Choose Company, enter ACME, and click NEW COMPANY.
- Select the new company. Choose Team, enter Analytics, and click NEW TEAM. A team cannot be created until its parent company is selected.
- Select either the company or the team. In Members, check the users who should belong to that exact organization, then click Save Members.
- Confirm the saved membership after the operation completes. Repeat for the other organization if it needs a different member set.
- To rename a company or team, click its pencil control, edit the name, and save it. Cancel or press Escape to discard the edit.
Clear Selection only clears the current selection. Refresh reloads the hierarchy and directory; it does not create or delete anything. The documented page has no company or team deletion control.
Common mistakes
Section titled “Common mistakes”In the documented beta build, an identity job can complete while this page remains busy. Check the operation in Job History. After confirming DONE, reload the page and verify the saved company, team, or members. Do not submit the same creation again just because its screen has not refreshed.
Do not assume that adding somebody to a company automatically selects them in every team. Edit and verify the intended member set.
Do not treat an unavailable directory as an empty organization. A failed read is shown as an error, and an unresolved member set cannot be saved. If an enrolled member is no longer listed in the directory, the page identifies that situation and preserves the enrollment when you save; it does not silently remove the person.
Membership is not itself an object-access grant. A company or team can be selected as a subject in Permissions, but creating it does not make every workspace available to its members. Recheck access as the affected user after changing membership or assignments.